You will need:
- For each student, a piece of paper (8.5"x11").
- A variety of color pencils or crayons.
paper fold unfold middle point together triangle crease turn over corner direction opposite end middle mouth eyes nose teeth open close
Instructions:
Click on the
thumbnail image if you want to see a larger picture. Teachers who use a
screen reader
should ignore the links to the larger images, as the
screen reader will read the instructions in order.
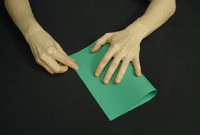
1. Fold the paper from top to bottom, bringing together the two opposite ends.

2. Crease the folded end.
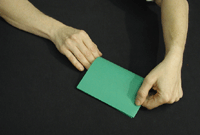
3. Fold the paper from side to side, bringing together the two opposite ends.
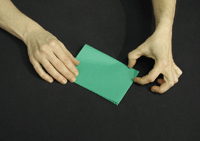
4. Crease the folded end.
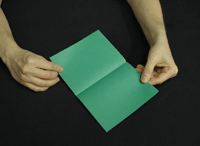
5. Unfold the paper once, noting the middle crease.
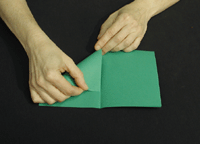
6. Fold the top left tip so that it touches the middle crease.
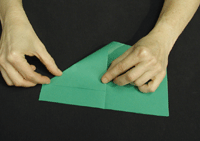
7. Crease the diagonal end.

8. This is what you should now have.
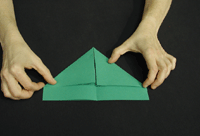
9. Fold the other tip so that it touches the middle crease, and crease the diagonal end.
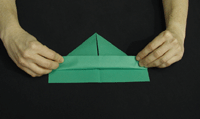
10. Fold one bottom flap upwards.
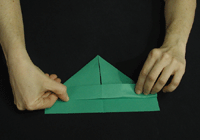
11. Crease this folded end.
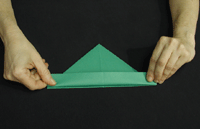
12. Flip the paper over. Fold the other bottom flap, and crease this fold.
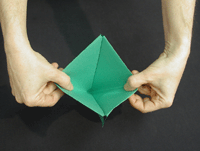
13. Insert both thumbs into the middle of the folded paper and pull outward.
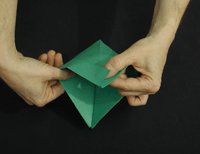
14. If necessary, tuck in the edges of the flaps.
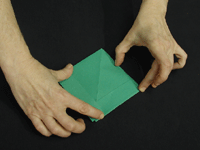
15. Crease all folds. You should have a folded rhombus.
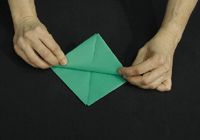
16. Holding the rhombus with the open sides down, lift one bottom flap, and make it touch the tip.
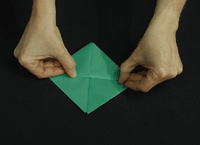
17. Crease the folded end.
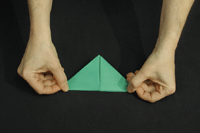
18. Turn the rhombus over. Lift the other bottom flap, making it touch the tip, and crease the fold.
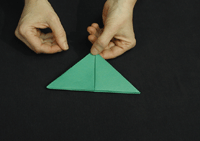
19. You should now have a folded triangle.
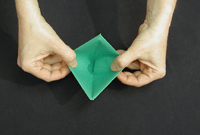
20. Insert both thumbs into the middle of the folded triangle, and pull out all the way.
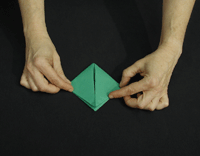
21. Crease all folds. You now have a rhombus.
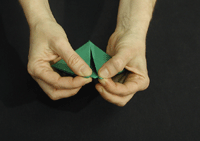
22. Hold the two tips with your thumbs and index fingers.
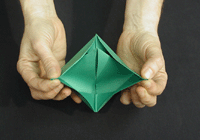
23. Gently pull the two tips outward.
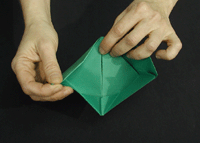
24. Flatten the inside part of the chomper to one side.
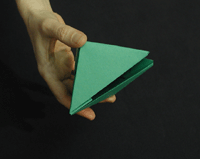
25. The chomper will look like this. With your thumb and middle finger, hold the chomper and manipulate its "mouth".
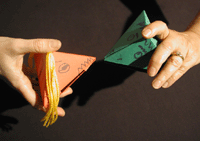
26. Add facial features, name your chomper, talk about it, and create a puppet show.
-
Paper Finger Puppets
Enchanted Learning Software's site that teaches how to make an assortment of different puppets and marionettes that students can make and use to enhance their foreign language skills and have fun. -
North Star Stick Puppets
While Maribeth Bush created this site for the North Star Project, interested teachers can find creative ideas to bring to their classrooms and enhance their students' learning. -
Simple Paper Bag Puppet
DWHEEL1 (Julie) sent this pattern to About's Family Crafts, and although she designed it for young children, we believe that older students could add sophisticated touches to theirs and use their puppets to enhance their oral skills in a foreign language.
