You will need:
- A variety of large, flat buttons, with two or four holes. Round, oval, or square buttons would work best.
- For each student, a piece of cotton or another strong, smooth string, about 30" long.
string button knot hole insert tie move middle finger end turn/spin forward through pull make music
Instructions:
Click on the
thumbnail image if you want to see a larger picture. Teachers who use a
screen reader
should ignore the links to the larger images, as the
screen reader will read the instructions in order.
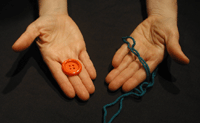 1. Pick a string and a button.
 2. Insert the string through one hole of the
button
and then back through a hole on the opposite side.
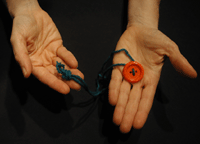 3. Tie together the ends of the string (creating
a
loop).
 4. Slide the button to the middle of the
loop.
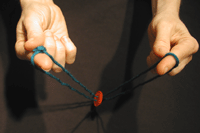 5. Insert your index fingers into the loop on
each
side of the button and spread them apart.
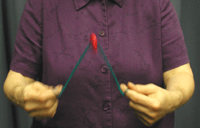 6. Create a circular motion with your wrists, and
swing the button forward repeatedly until the
string becomes tight.
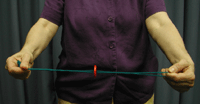 7. Pull your hands apart. The string will
unwind, and the button will make a
buzzing noise.
-
Buttons Galore and More
.featuring
Dress It Up
One of the largest selections of novelty buttons we have seen, covering a myriad of subjects. This site provides many ideas for crafts and using buttons in novel ways. -
Banaras Beads
Photos of assorted millefiore buttons. The possibilities for creating beautiful buttons seem endless. -
The Sewing Place
Many photos of buttons made of glass, bone, porcelain, shell, metal, wood, Raku and more should inspire both students and teachers. -
Family Crafts with Sherri Osborn
Part of About's Web site, this page links to seven projects that can easily be made with "those lonely buttons lying around."
